Planning an estate cleanout Calgary families can manage without overwhelm is never easy—especially when emotions and timelines are involved. This guide breaks the process into clear, practical steps so you can move forward with less stress and more confidence, while keeping important items safe and making responsible choices about donation, recycling, and disposal.
Before You Start: Set a Simple Goal (Not a Perfect Plan)
Most estate cleanouts feel hard because there are too many decisions at once. Instead of trying to “figure everything out,” choose one clear goal for the property:
- Prepare the home for sale or listing photos
- Clear the property for a rental turnover
- Remove only unwanted items while keeping valuables and keepsakes
- Sort items for family distribution first, then remove what remains
Tip: If multiple family members are involved, agree on a goal and a timeline before you begin. It prevents conflict and reduces re-work.
Step 1: Secure Important Documents and Valuables First
Before anything is moved out of drawers, closets, or storage boxes, create one safe “priority area” and collect the essentials:
Documents to look for
- IDs, passports, birth certificates, marriage certificates
- Bank statements, tax documents, insurance paperwork
- Property documents, vehicle ownership papers
- Wills, legal documents, power of attorney paperwork
Valuables and keepsakes
- Jewelry, watches, coins, collectibles
- Photo albums, letters, and sentimental items
- Family heirlooms and irreplaceable keepsakes
Step 2: Choose a Sorting System That Prevents Burnout
A simple system beats an ambitious one. Use these four categories:
- Keep (family keepsakes, needed items)
- Donate (good condition items)
- Sell (valuable items you’re willing to list)
- Remove (broken, outdated, unwanted, or bulky items)
If you’re stuck on something, don’t spend 20 minutes debating it. Put it in a “Maybe” box and revisit later. Momentum matters.
Step 3: Work Room-by-Room (Not Item-by-Item)
Estate cleanouts get overwhelming when you hop between rooms. A room-by-room approach makes progress visible and keeps decisions contained.
A practical order that works well:
- Bathrooms (fast wins)
- Kitchen (clear counter space early)
- Bedrooms (sort clothing and personal items)
- Living room (furniture decisions)
- Basement/garage/storage (big volume)
Tip: Label each room’s boxes clearly so donation/sell/remove piles don’t mix.
Step 4: Donation vs. Recycling vs. Removal (How to Decide Quickly)
Donate if:
- The item is clean, complete, and usable
- It’s something a charity can realistically re-home (furniture, kitchenware, clothing in good condition)
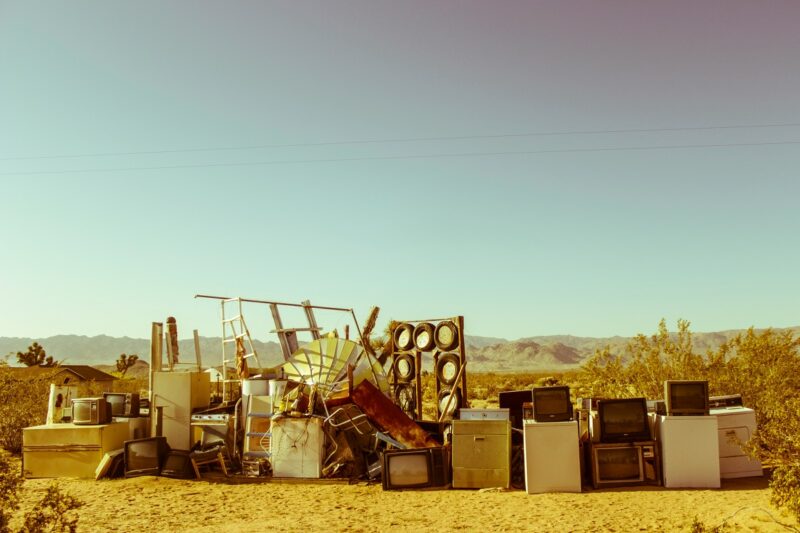
Recycle if:
- It’s an electronic item (TVs, monitors, computers)
- It’s metal-heavy or clearly recyclable material
- It’s an appliance that should be handled responsibly
Remove if:
- The item is broken, heavily worn, or incomplete
- It’s bulky and hard to move (couches, mattresses, appliances)
- There’s a large volume and you need the property cleared efficiently
If you want the easiest path: focus on “Keep” first, then “Remove.” Donation and recycling can happen in parallel once the home is under control.
Step 5: How Professional Estate Cleanout Help Works (and When It Makes Sense)
You don’t need professional help for every estate cleanout—but it becomes a huge relief when:
- You’re out of town or short on time
- The home has large furniture, heavy appliances, or a lot of clutter
- There’s a listing deadline or possession date
- You need the job handled respectfully and efficiently
With full-service junk removal, you don’t have to drag items outside. A team can remove items from inside the home, load them safely, and haul them away for responsible disposal.
Common estate cleanout removal items include:
- Furniture and mattresses
- Appliances (including fridges and freezers)
- Electronics (TVs, monitors, computers)
- General household junk and stored clutter
- Renovation leftovers and miscellaneous debris
Step 6: Avoid These Common Estate Cleanout Mistakes
Mistake 1: Rushing the decision-making
Rushing creates regret. Protect the essentials first (documents/valuables), then move forward.
Mistake 2: Trying to do everything in one weekend
It’s possible, but it’s rarely healthy. A staged approach reduces stress and improves decision quality.
Mistake 3: Mixing “keep” items into the remove pile
This is more common than you think. Use colour labels or separate rooms to avoid mistakes.
Mistake 4: Underestimating heavy items
Large furniture, pianos, safes, and appliances can be dangerous to move without proper technique and equipment.
A Simple Estate Cleanout Timeline (That Works for Most Families)
Here’s a realistic schedule you can adapt:
- Day 1: Secure documents/valuables + quick walk-through plan
- Day 2–3: Sort main living areas (keep/donate/sell/remove)
- Day 4–5: Basement/garage/storage cleanout
- Day 6: Donation drop-offs and finalize sell items
- Day 7: Book removal for the remaining “remove” pile
If you’re on a deadline, you can compress this—but keeping the same order helps.
Need Help With an Estate Cleanout in Calgary?
If you’re handling an estate cleanout and want respectful, professional help, Carthago Express Services is here for you. We’ll confirm what can be removed, provide an upfront quote, and schedule the earliest available pickup (same-day or next-day service may be available depending on the schedule).
0 Comments